
When we moved to our little country home in 2018 I had this vision in my head of completely renovating the kitchen and creating the perfect farmhouse kitchen. However my head got the best of me when I had to think about the incredible budget we would have to put into this project that we just didn’t have. Discouragement lead me to then opening up to the idea of doing a non reno that was all DIY, not to mention completely budget friendly and even though it sounds scary, if you plan it right the whole project ended up being under $800. That’s insane! I’ll get into detail later but I couldn’t believe what a little tlc and just the slightest details could change our kitchen to something that I’ve wanted for so long!

Before 
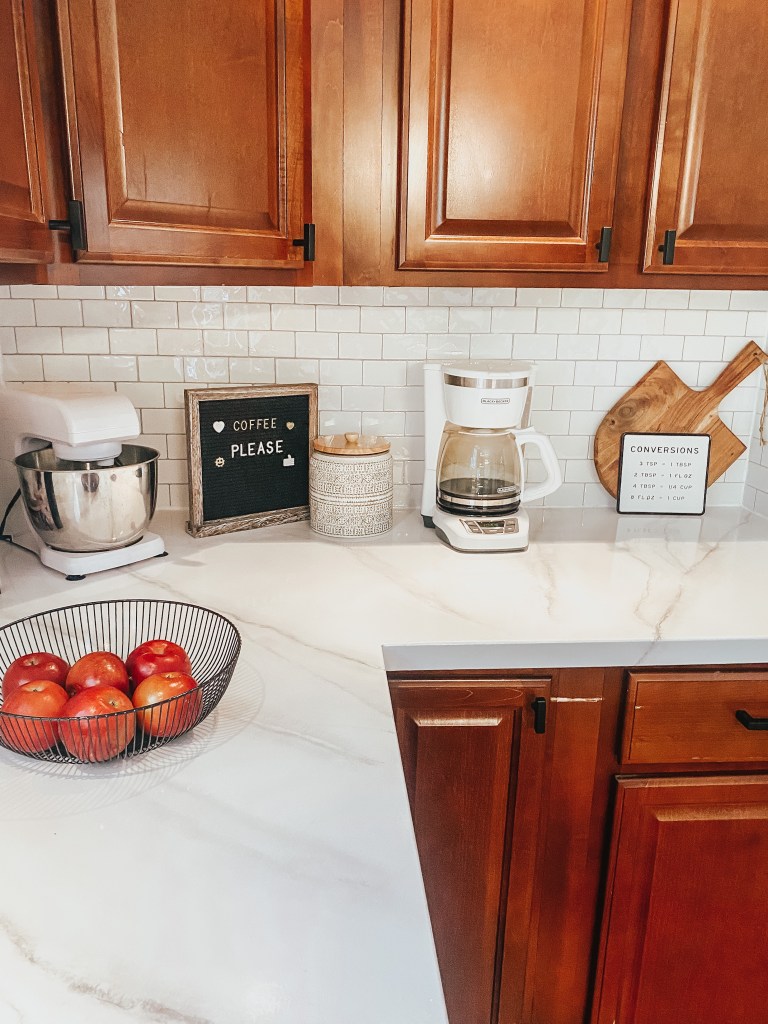
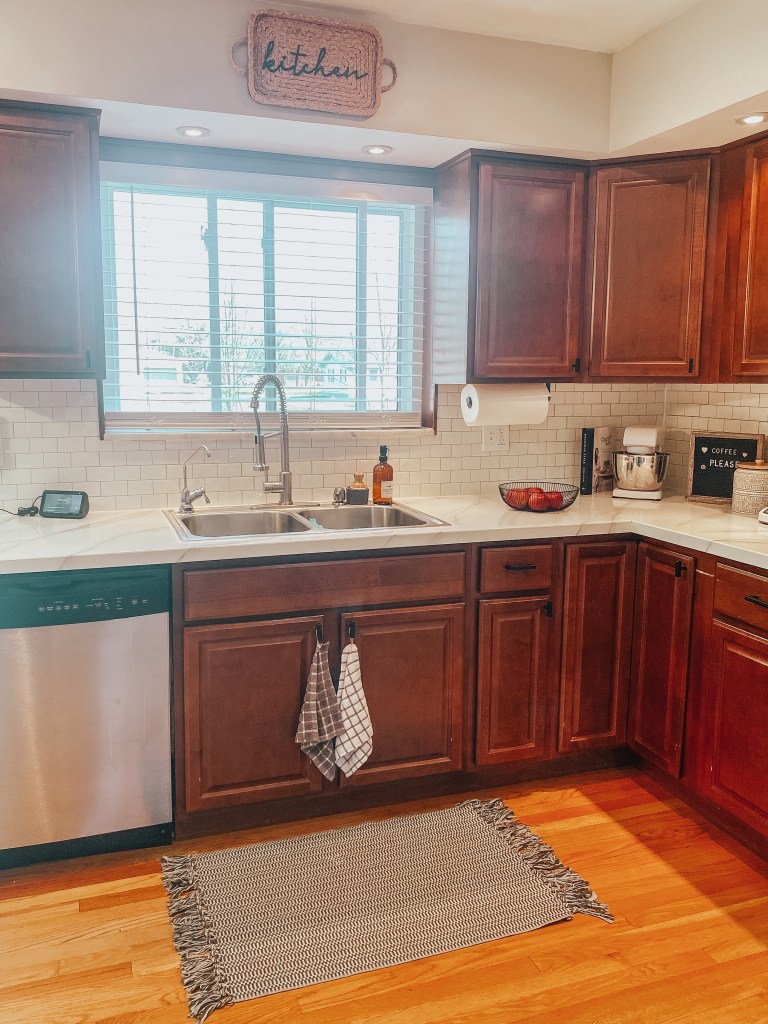
After
First off I want to thank my amazing boyfriend for always going with my craziness of jumping from one project to the next and helping me put this project together. Couldn’t have done it without him! 💗
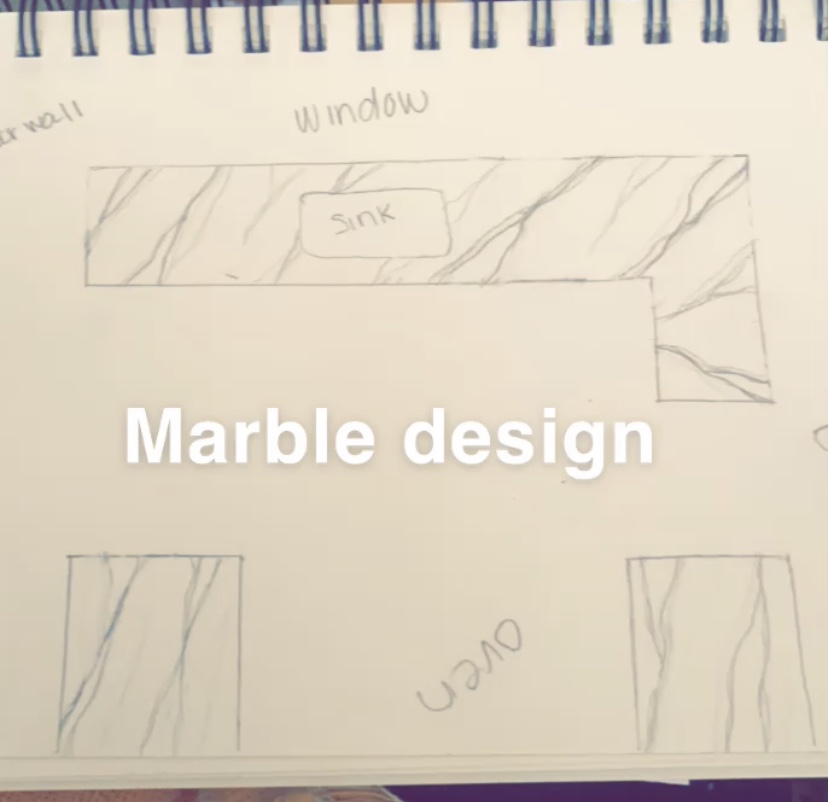
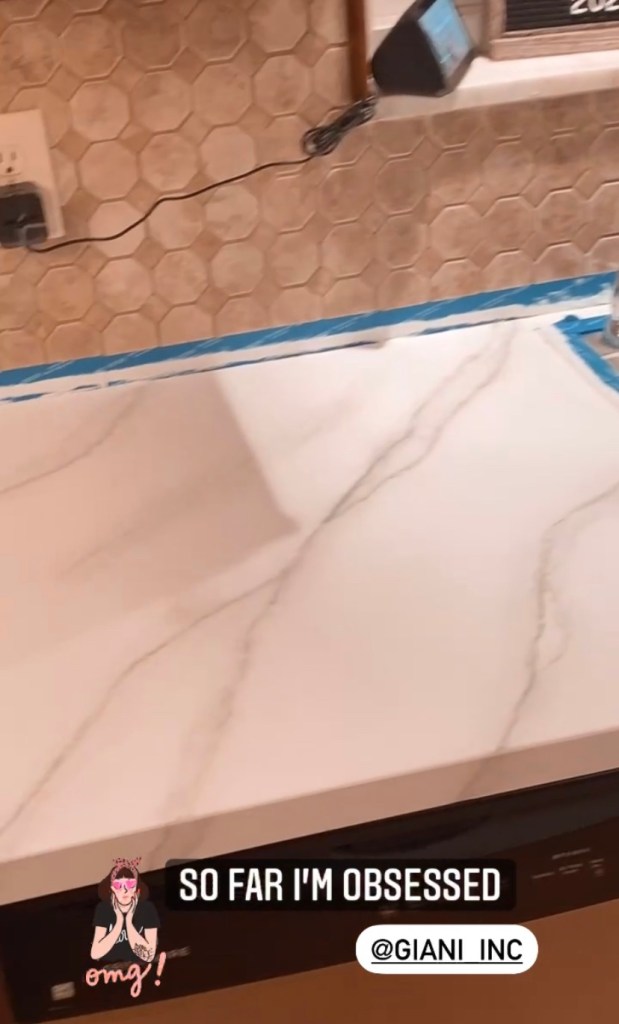
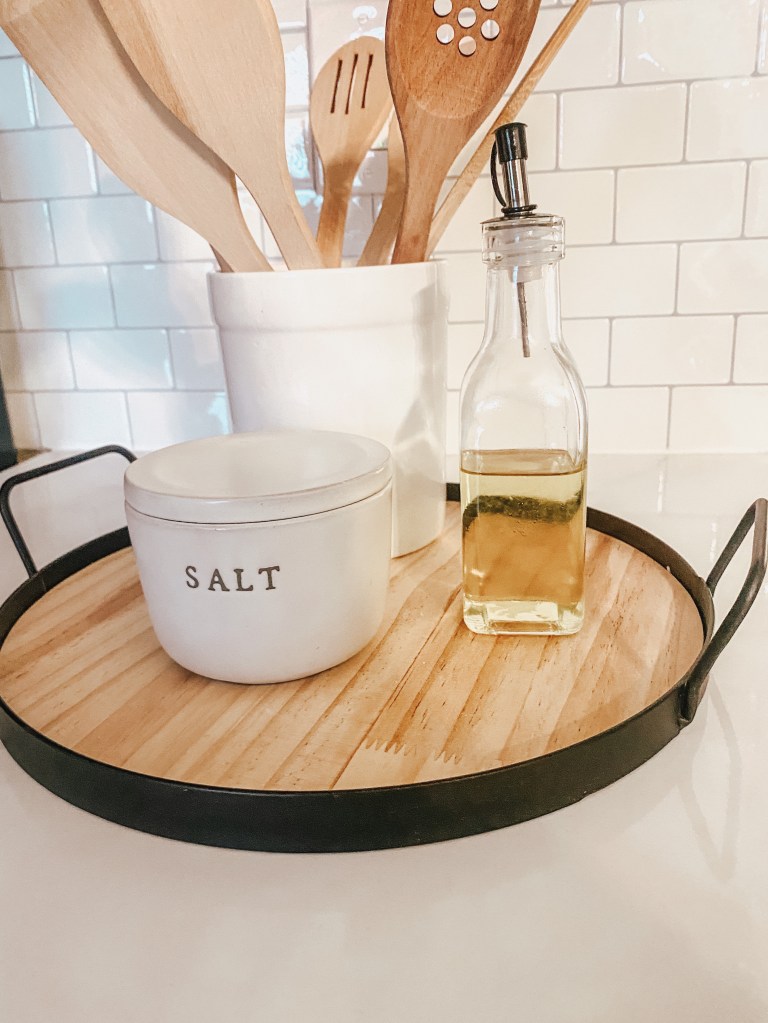
In the beginning of our moving process I actually repainted the kitchen counters to create a granite effect in which two years later I ended up just not loving anymore. It felt so outdated and I just wanted something more bright and refreshing. Of course I couldn’t afford new marble countertops so I did some digging and found the same brand that I used for the granite DIY had a kit for marble effect. It looked amazing in all the photos and I was so nervous because you have to create the marble lines yourself. But the kit gives you everything you need to be able to create it and after watching many YouTube videos later I made the purchase. The kit I used is the Giani Marble Paint Kit for $180. The kit contains the base white coat, marble paint, epoxy, brushes, rollers, and a practice board for before you begin. There is also a how-to video which teaches you the step by step instructions on how to paint on the marble effect. And y’all I couldn’t believe the results! It looked like I had brand new counter tops installed. I’ve gotten so many compliments. The whole painting process took one weekend and about 5 days for the epoxy to cure so be prepared to not use your counters for a week. I also recommend drawing out your design and researching what type of marble designs you want to use prior to starting. Pinterest was my best friend for that part.

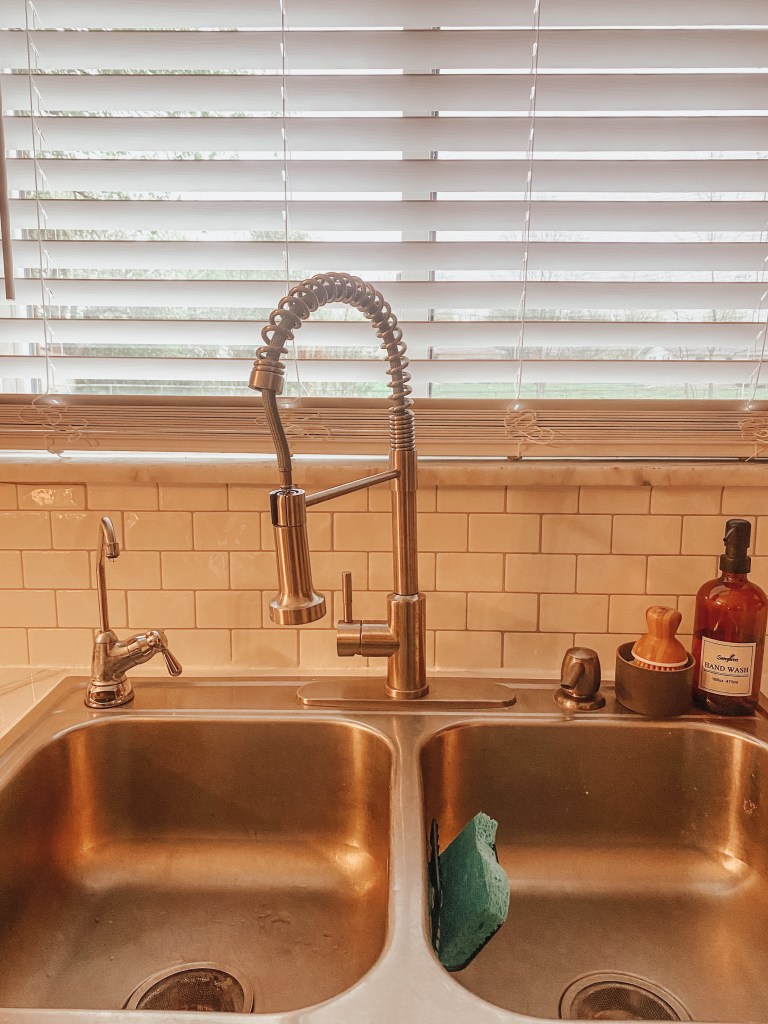
Of course after my new counters were done, I couldn’t stand the tiled backsplash that didn’t match the look that I was going for. I then decided to take to Pinterest once again and found that I didn’t have to demo my existing tile and replace it but instead could cover it with peel and stick backsplash. Again, I know the sound of peel and stick sounds scary but this is a non RENO remodel and I wanted something non permanent for this project. I used Peel and stick subway tile from Amazon at $31.99 a pack. I ended up needing 4 packs to cover my existing backsplash. During putting them up I had no doubt in my mind they would be falling off anytime soon as they were super sticky and I couldn’t remove it once I had a section in place. If you feel you need some extra help I also linked up a spray adhesive you can use prior to sticking on the wall. I do have to say to be extra careful when using if you do choose that route. Be sure to also clean you wall or tile prior to placing! Also make sure that if it’s behind your sink to caulk the corners and where it meets the counters so water cannot get inside to cause it to pop off. I also make sure to dry the area after dishes. It’s been 3 months since the install and I haven’t seen any of it come off yet. *fingers crossed* *knock on wood*

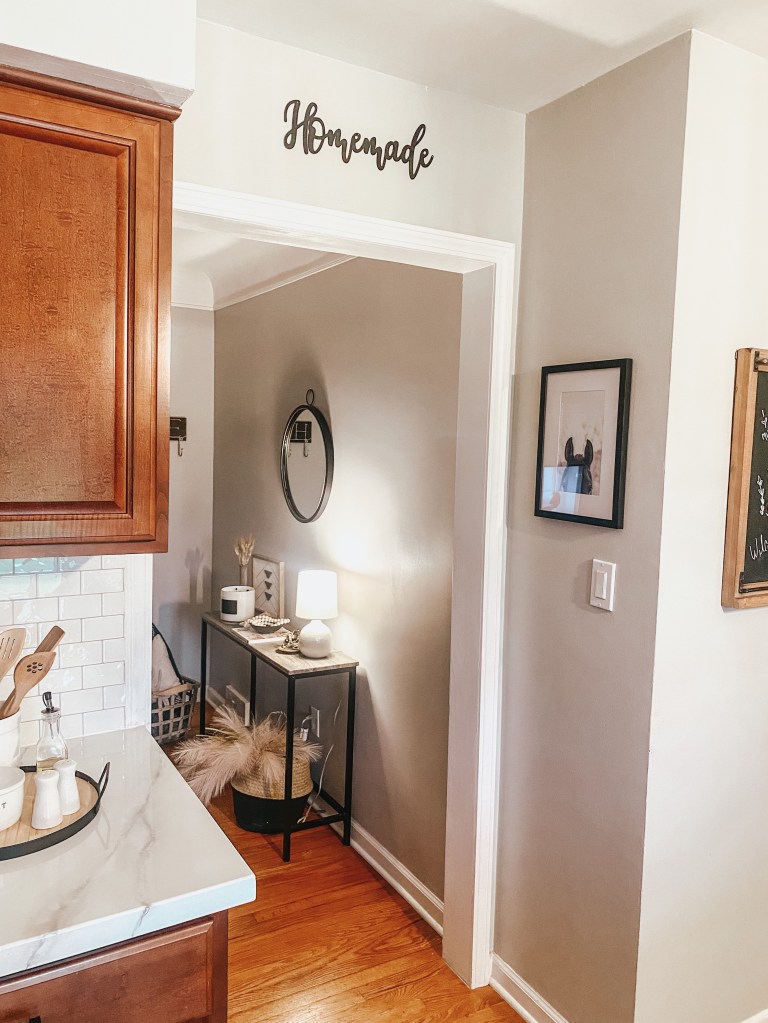
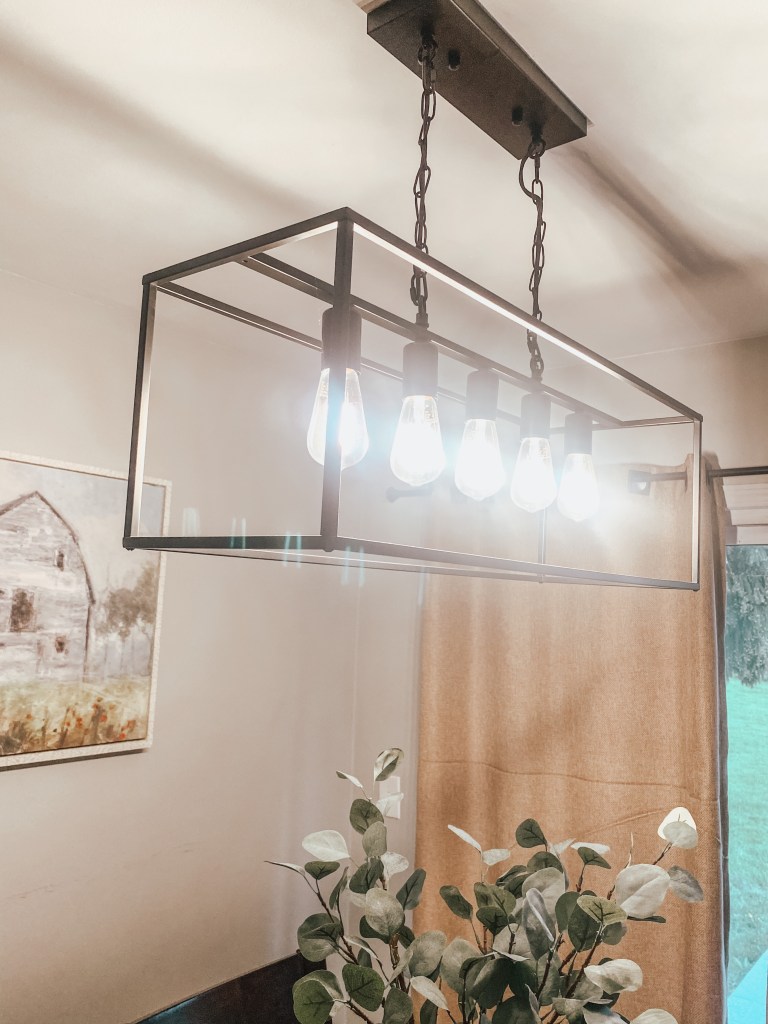
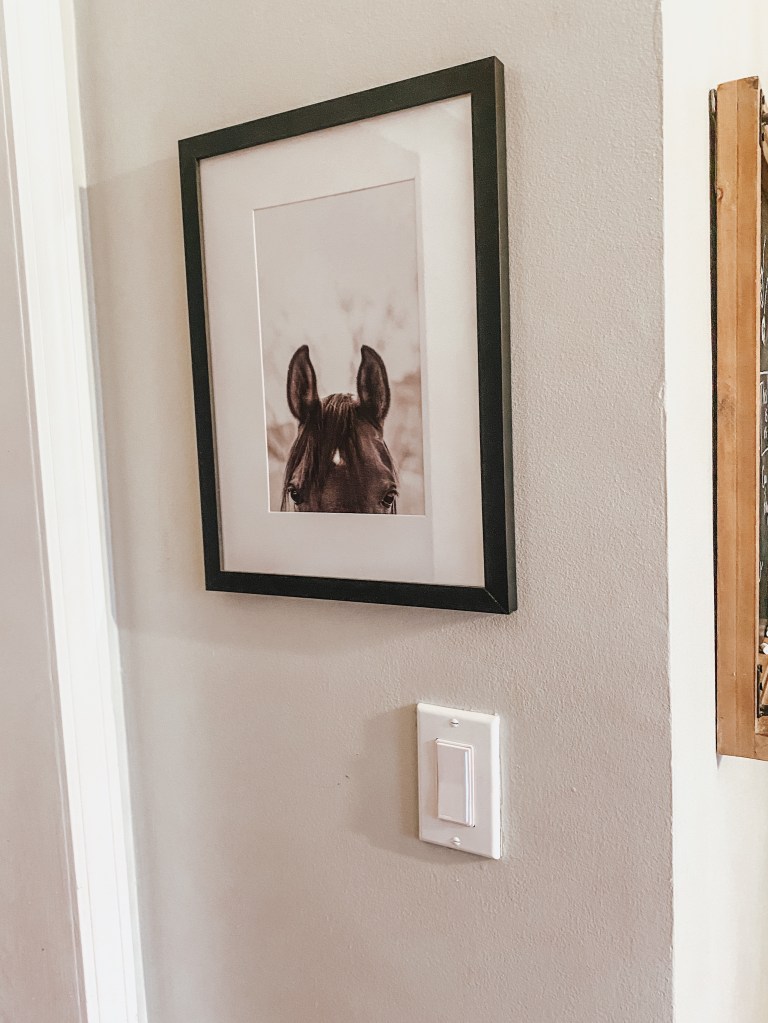
Once the two major projects of the kitchen were done my mind immediately went to “what project next?!” which was do I repaint the cabinets?? After some discussion with my boyfriend we decided to keep the integrity of the newer cabinets and keep what we had when we moved in and so I decided to just change the knobs and pulls and I’m so happy that we kept it that way. The new knobs gave the kitchen that new detail that made everything pop. And once that was done all we needed to do was install the new light fixture and change the outlets from a nasty yellow color to a brand new white. I added some new farmhouse decor which were mainly from Hobby Lobby and Target and I am so incredibly happy with the end results. I feel like I have a brand new farmhouse kitchen and did it spending a fraction of the price!

If you are interested in any of the products I used I’ve listed them all below and in my Amazon Storefront located in my discount codes/links page! Here are some more pictures of the finished results:

Rug: Wayfair linked in my liketoknow.it

Giani Marble Counter Paint Kit – $180
Peel and Stick Subway Tile – $31.99/pack
Adhesive Spray – $16
